SUMMARY: Fresh herbs bring a vibrant, bold flavor to dishes, ideal for use when the herb’s aroma is a key element; dried herbs, offering a more concentrated taste, are best added during the cooking process to infuse meals with depth. Understanding how to substitute one for the other based on a recipe’s needs can enhance both the flavor and potency of your culinary creations.

Ever wondered how the potency of fresh herbs compares to their dried counterparts?
You’re in the right place to find clarity and guidance.
- Understanding Herb Potency
- Fresh Herbs: Characteristics and Potency
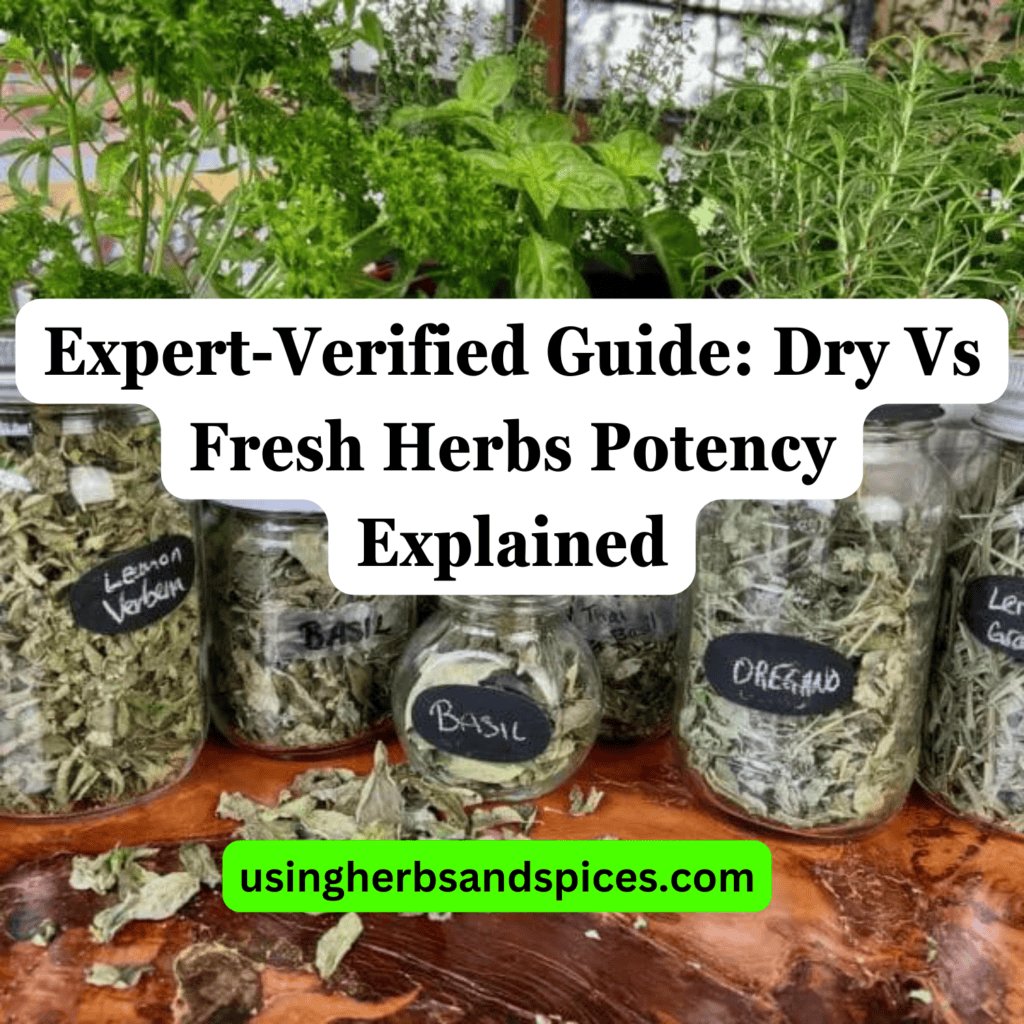
- Dried Herbs: Characteristics and Potency
- Comparing Fresh and Dried Herbs
Continue reading to discover the best tips for comparing fresh vs. dried herb potency and how to make the best choice for your cooking and health needs.
Understanding Herb Potency
Herb potency refers to the concentration of active compounds in herbs that contribute to their flavor, scent, and health benefits. Various factors such as the plant part used (leaf, stem, flower), the conditions under which the herb was grown, and how the herb was harvested and processed significantly influence potency. For example, essential oils concentrated in the leaves or flowers of a plant are usually the source of the herb’s potent flavors and aromas. In the realm of herbal medicine, potency also pertains to the efficacy of the herb’s medicinal properties. Knowing how these factors play a role can help in making informed decisions whether to use fresh or dried herbs in your culinary creations or health remedies.
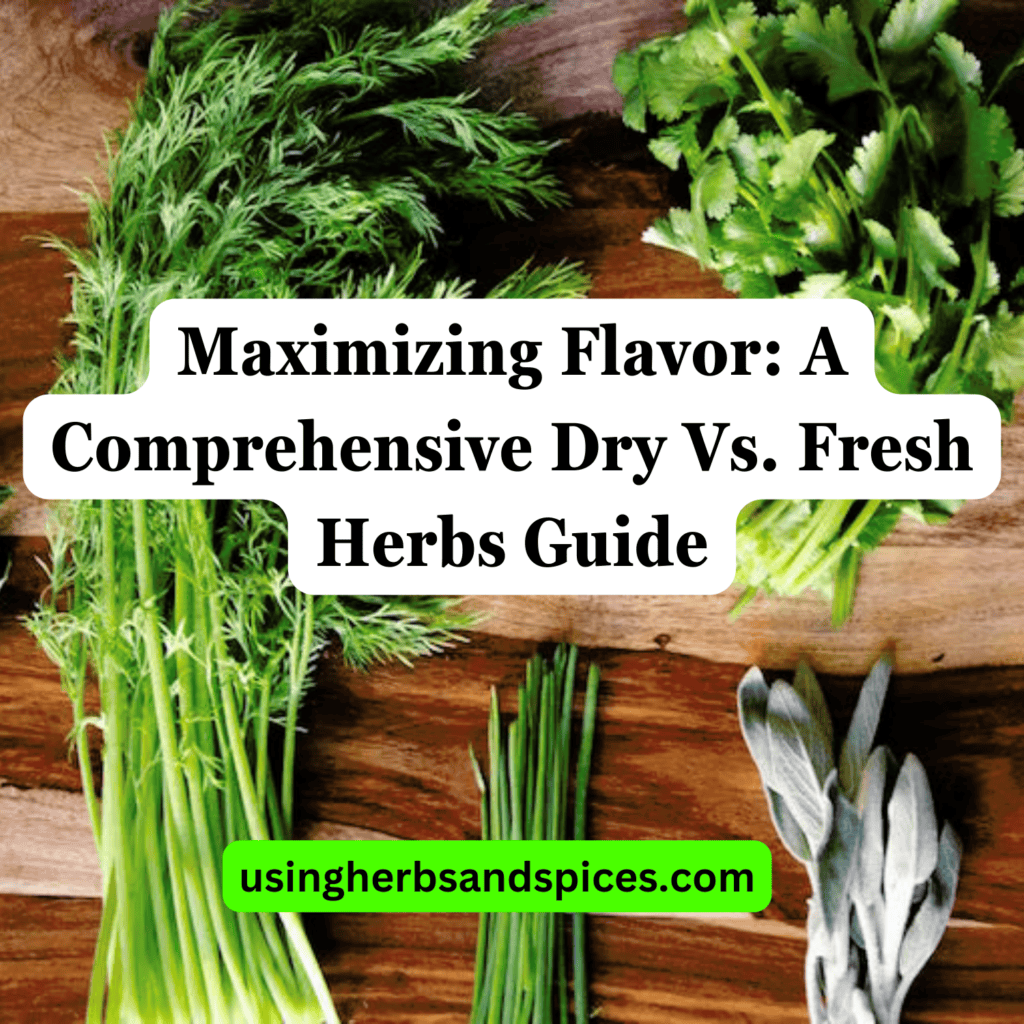
Fresh Herbs: Characteristics and Potency
Fresh herbs are celebrated for their vibrant color, strong aroma, and the robust flavor they contribute to culinary dishes. These characteristics stem from the oils present in the leaves, which are responsible for their potency. Fresh herbs often contain higher moisture content, which can contribute to a more subtle flavor when compared with their dried counterparts, but this does not mean they are less potent. The potency of fresh herbs is also dependent on how recently they have been harvested; the fresher the herb, the more potent its flavor and medicinal properties.
The primary benefit of using fresh herbs lies in their ability to add a layer of complexity and freshness to dishes that dried herbs cannot match. They are most appropriate in recipes that call for a bright, fresh flavor profile, such as salads, dressings, and garnishes. Additionally, fresh herbs are often considered more beneficial in herbal remedies, owing to their full spectrum of healthful components that may be diminished in dried forms.
However, it’s crucial to understand their shelf life is considerably shorter than that of dried herbs. To maximize their potency, fresh herbs should be used soon after purchase or harvest and stored properly in the refrigerator. This attention to detail ensures that their aromatic and healthful properties are preserved as long as possible.
Dried Herbs: Characteristics and Potency
Description of dried herbs, how drying affects their potency, and the advantages of using dried herbs. Includes how to properly store dried herbs to maintain their potency.
Drying herbs is a process that reduces their water content, concentrating their essential oils and consequently, their flavors and medicinal properties. This process can remarkably affect an herb’s potency, often leading to a more intense taste and aroma compared to their fresh counterparts. However, the degree to which potency is concentrated varies among different herbs.
The advantages of using dried herbs include their extended shelf life, which makes them available for use throughout the year, regardless of the season. They are also easier to store and take up less space than fresh herbs. For culinary purposes, dried herbs are particularly suitable for longer cooking times, as they release their flavors slowly over time.
To maintain the potency of dried herbs, it’s crucial to store them correctly. Keep them in airtight containers away from direct sunlight, heat, and moisture. This can greatly extend their shelf life, preserving their quality and ensuring that they retain their flavor, color, and medicinal benefits for as long as possible.
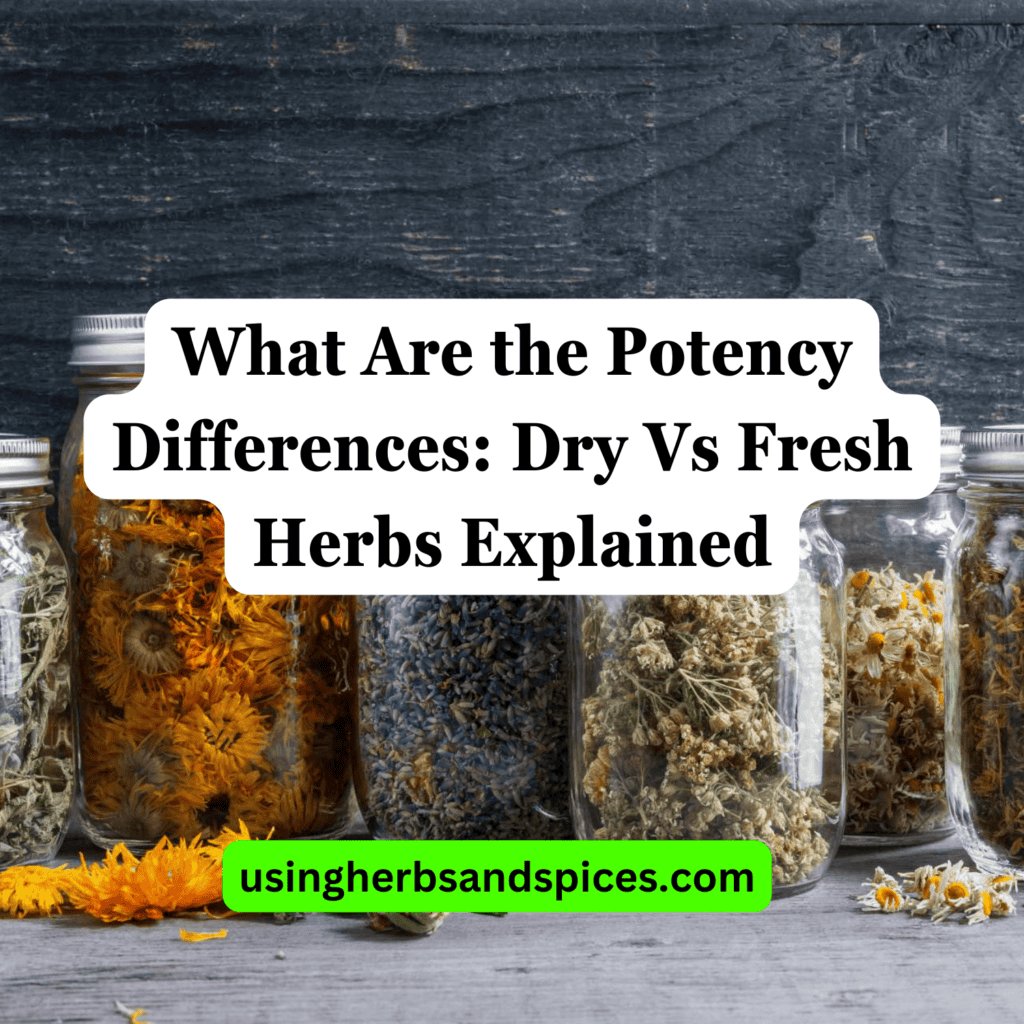
Comparing Fresh and Dried Herbs
Comparing fresh and dried herbs reveals significant differences in flavor, usage, potency, and cost, each having unique benefits and drawbacks. Fresh herbs are known for their vibrant, crisp flavors, adding a burst of freshness that is particularly favored in raw or lightly cooked dishes. Their aromatic properties are more volatile, offering a complexity that can be lost after prolonged cooking.
In contrast, dried herbs possess a more concentrated flavor, making them ideal for dishes that require cooking over longer periods. This concentration means that a smaller quantity of dried herb can be required to achieve the same taste intensity as fresh herbs. However, due to the drying process, some subtle nuances of the herb’s flavor profile can be diminished.
When substituting fresh herbs for dried in recipes, a general guideline is to use one-third of the amount of dried herb to fresh. This ratio can help maintain the intended flavor balance without overpowering the dish. It is also cost-effective, as dried herbs tend to be less expensive than their fresh counterparts and can be stored for longer periods.
Ultimately, the choice between using fresh or dried herbs depends on the desired outcome in terms of flavor, texture, and color. Considering these factors will guide you in deciding which form of the herb will best complement your dish, allowing for optimal culinary results.
Mastering Fresh vs. Dried Herbs for Optimal Flavor
In this guide, we’ve delved into the essential aspects of fresh and dried herbs, highlighting their potency differences to aid in your culinary and therapeutic applications. Below, you’ll find the core insights shared:
- Herb potency is significantly influenced by factors such as the plant part used, growing conditions, and preservation methods.
- Fresh herbs offer a vibrant, aromatic flavor ideal for immediate use, while their potency is most pronounced when added at the end of the cooking process.
- Dried herbs, characterized by a more concentrated flavor, provide extended shelf life and enhanced convenience, making them suitable for longer cooking times.
- The comparison between fresh and dried herbs reveals that each has its unique advantages, depending on flavor intensity, usage in recipes, cost, and storage requirements.
- Understanding how to substitute fresh herbs with dried ones can greatly affect the outcome of your cooking, enhancing flavor profiles and preserving the intended potency.
Armed with these insights, you are better equipped to make informed decisions when choosing between fresh and dried herbs, ensuring your dishes are not only delicious but also retain the desired herbal potency.
Comparing Fresh Vs Dried Herb Potency FAQs
How do I convert between fresh and dried herbs in recipes?
To convert between fresh and dried herbs in recipes, a general rule of thumb is to use one-third the amount of dried herb for the fresh herb called for. This is because dried herbs have a more concentrated flavor due to the reduced water content. However, it’s important to consider the potency and age of the dried herbs, as their flavor strength can diminish over time.
Can the potency of an herb decrease over time?
Yes, the potency of an herb can decrease over time, especially after it has been harvested and processed. Fresh herbs typically lose their potency quicker than dried herbs. Dried herbs, while having a longer shelf life, also experience a gradual decrease in flavor intensity and should be replaced roughly every one to three years to maintain optimal potency.
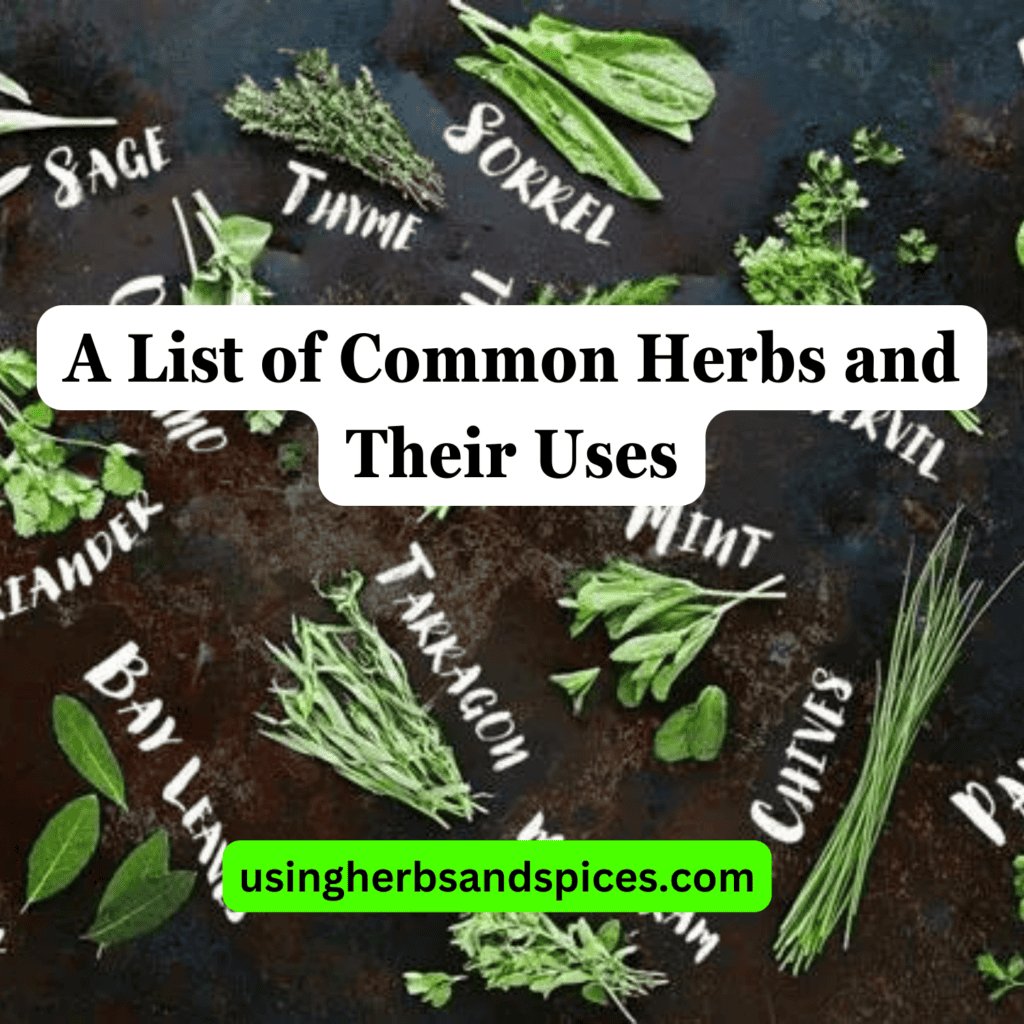
Are there certain herbs that are better fresh than dried, or vice versa?
Some herbs are indeed better fresh than dried, and vice versa, depending on their usage and the flavor profiles they impart. For instance, delicate herbs like parsley, cilantro, and basil are often preferred fresh to preserve their bright and vibrant flavors, especially in raw dishes. Conversely, robust herbs like rosemary, thyme, and oregano are often more versatile and retain their flavorful essence even after drying, making them suitable for dishes that require cooking.